
How to set up your Talent Pools for seasonal rehiring
Seasonal hiring doesn't have to start from scratch every time. Talent pools are how you bring back the people who already proved themselves.

Article
4 min
October 23, 2025
3 of 5
parts
Seasonal hiring doesn't have to start from scratch every time. Talent pools are how you bring back the people who already proved themselves.

Seasonal hiring is one of the most demanding parts of recruitment.
You’re hiring at scale, under pressure, with tight timelines, and juggling other open roles.
But the good news is, seasonal hiring is one of the easiest to automate, so you don’t always have to start from scratch.
As a recruiter, you might already try to bring back strong performers from the previous year. The challenge is how to make that easier.
For many teams, return hires means digging through old spreadsheets, scrolling through inboxes, or relying on someone’s memory. It works to a point, but it’s clunky, inconsistent, and far too easy to lose track of great people.
Talent Pools make the whole process seamless. Instead of juggling spreadsheets and manual lists, you can keep last year’s best hires together in one place.
When roles reopen, you already know who to reach out to. A simple email brings them back, and because you’ve got their history stored, you can skip straight past the early screening stages.
Over time, your seasonal Pool will become one of the most reliable and efficient parts of your recruitment strategy.
Before you get in touch with last year’s team, make sure you have permission to contact them.
If you already stay in touch with returning staff, you probably have a consent process in place. If you’re unsure, it’s best to check before you send any emails or SMS messages about new roles.
Data protection laws like GDPR mean you can only contact former employees about new opportunities if you have a valid reason to do so. That usually means they’ve given consent, or you have a legitimate business reason that doesn’t conflict with their privacy rights.
The simplest approach is to ask for permission before the season ends, which you can build an automation for. Anyone who replies yes will be safely added to your Talent Pool for next season.
Now you know you have consent, let’s get into the first step.
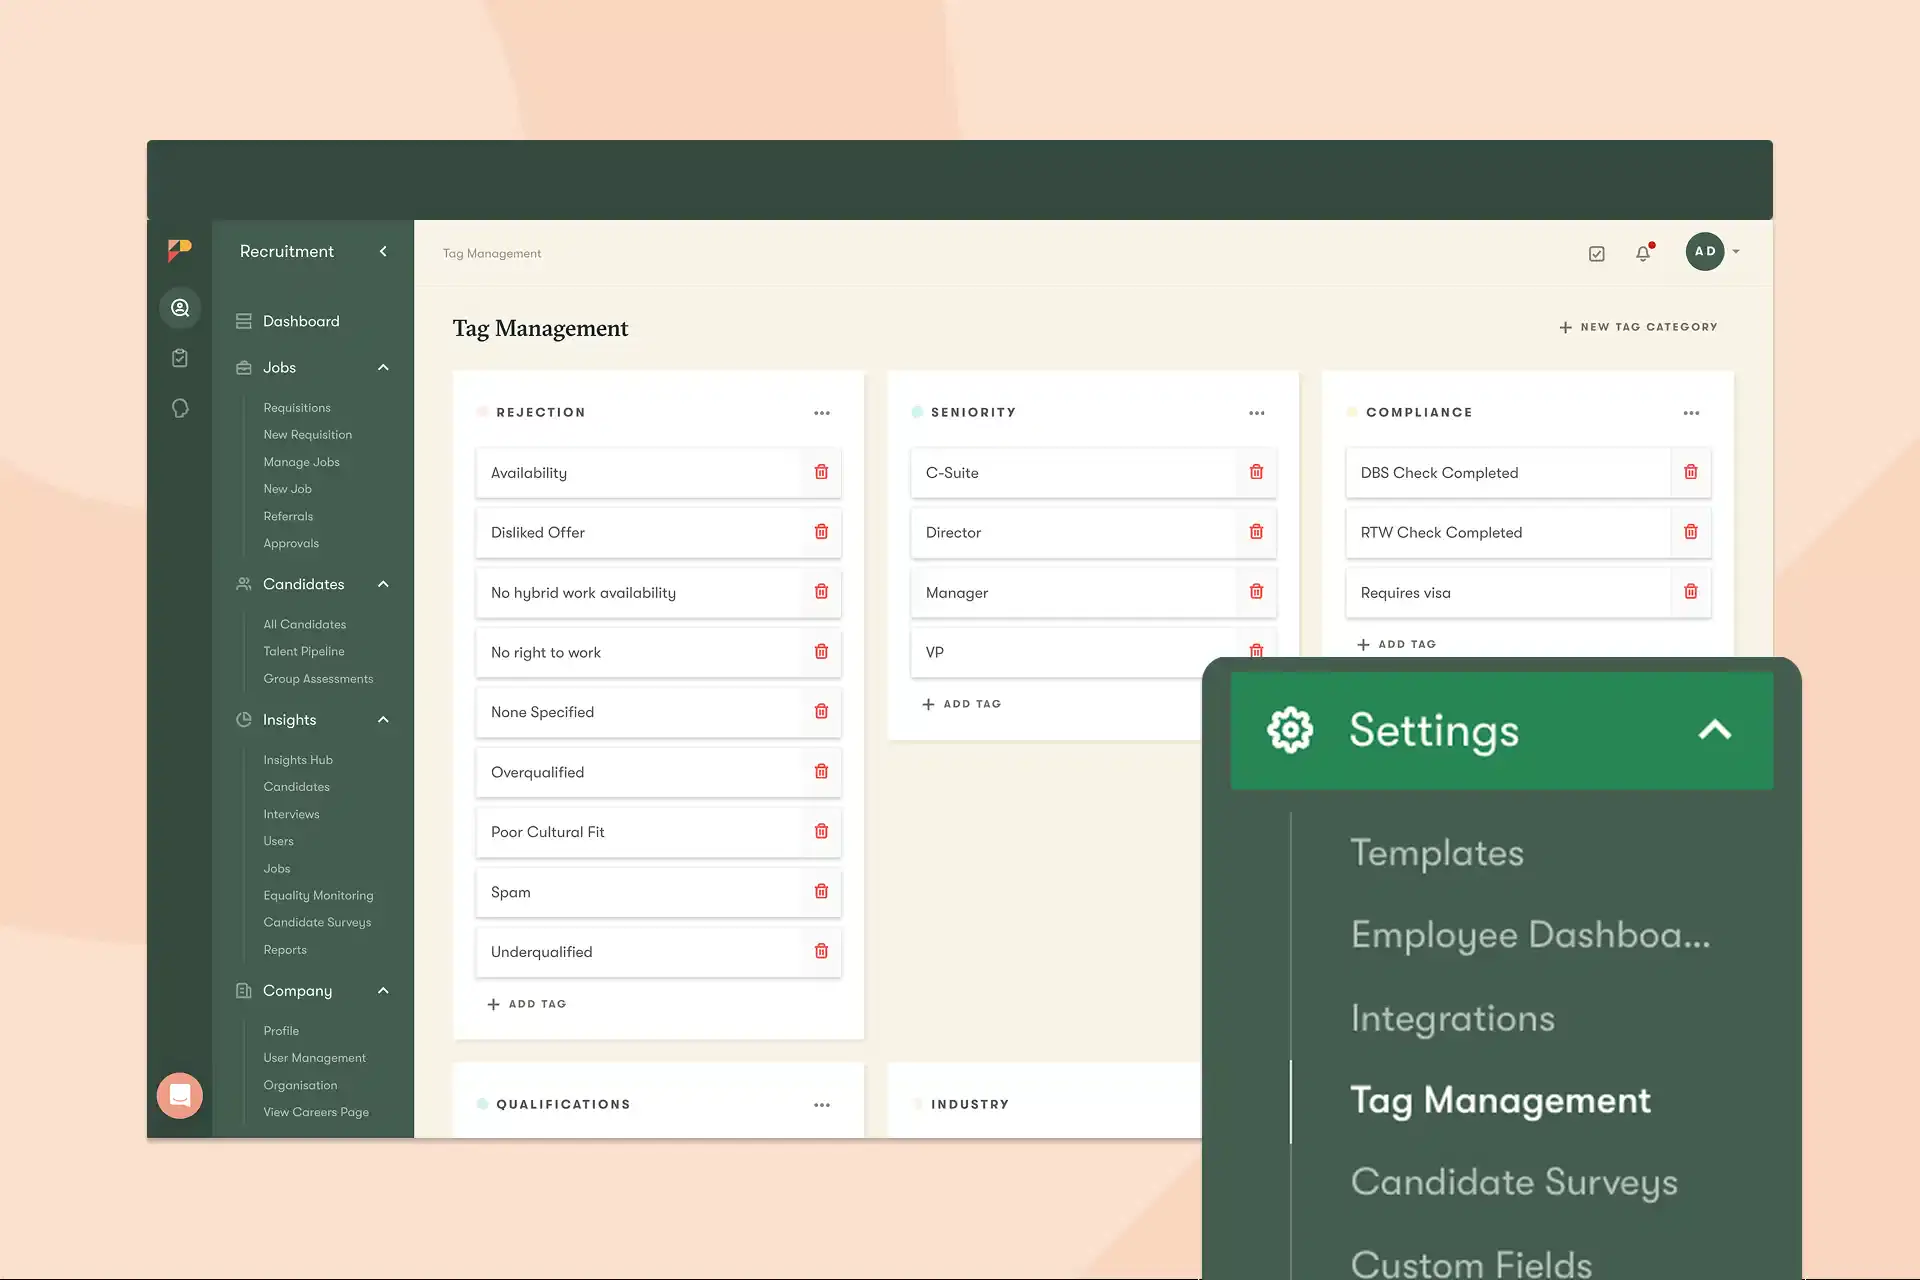
💡 Start here if you’re unsure about the Pool creation and tagging process.
The fastest way to cut down the stress of seasonal hiring is to make sure you don’t lose the people who already did the job well. Last year’s team is your best starting point.
They know the role, they understand your culture, and many will happily return if you reach out.
The key is pulling them into one clean, searchable place so they’re ready when you need them.
Here are the steps to do it:
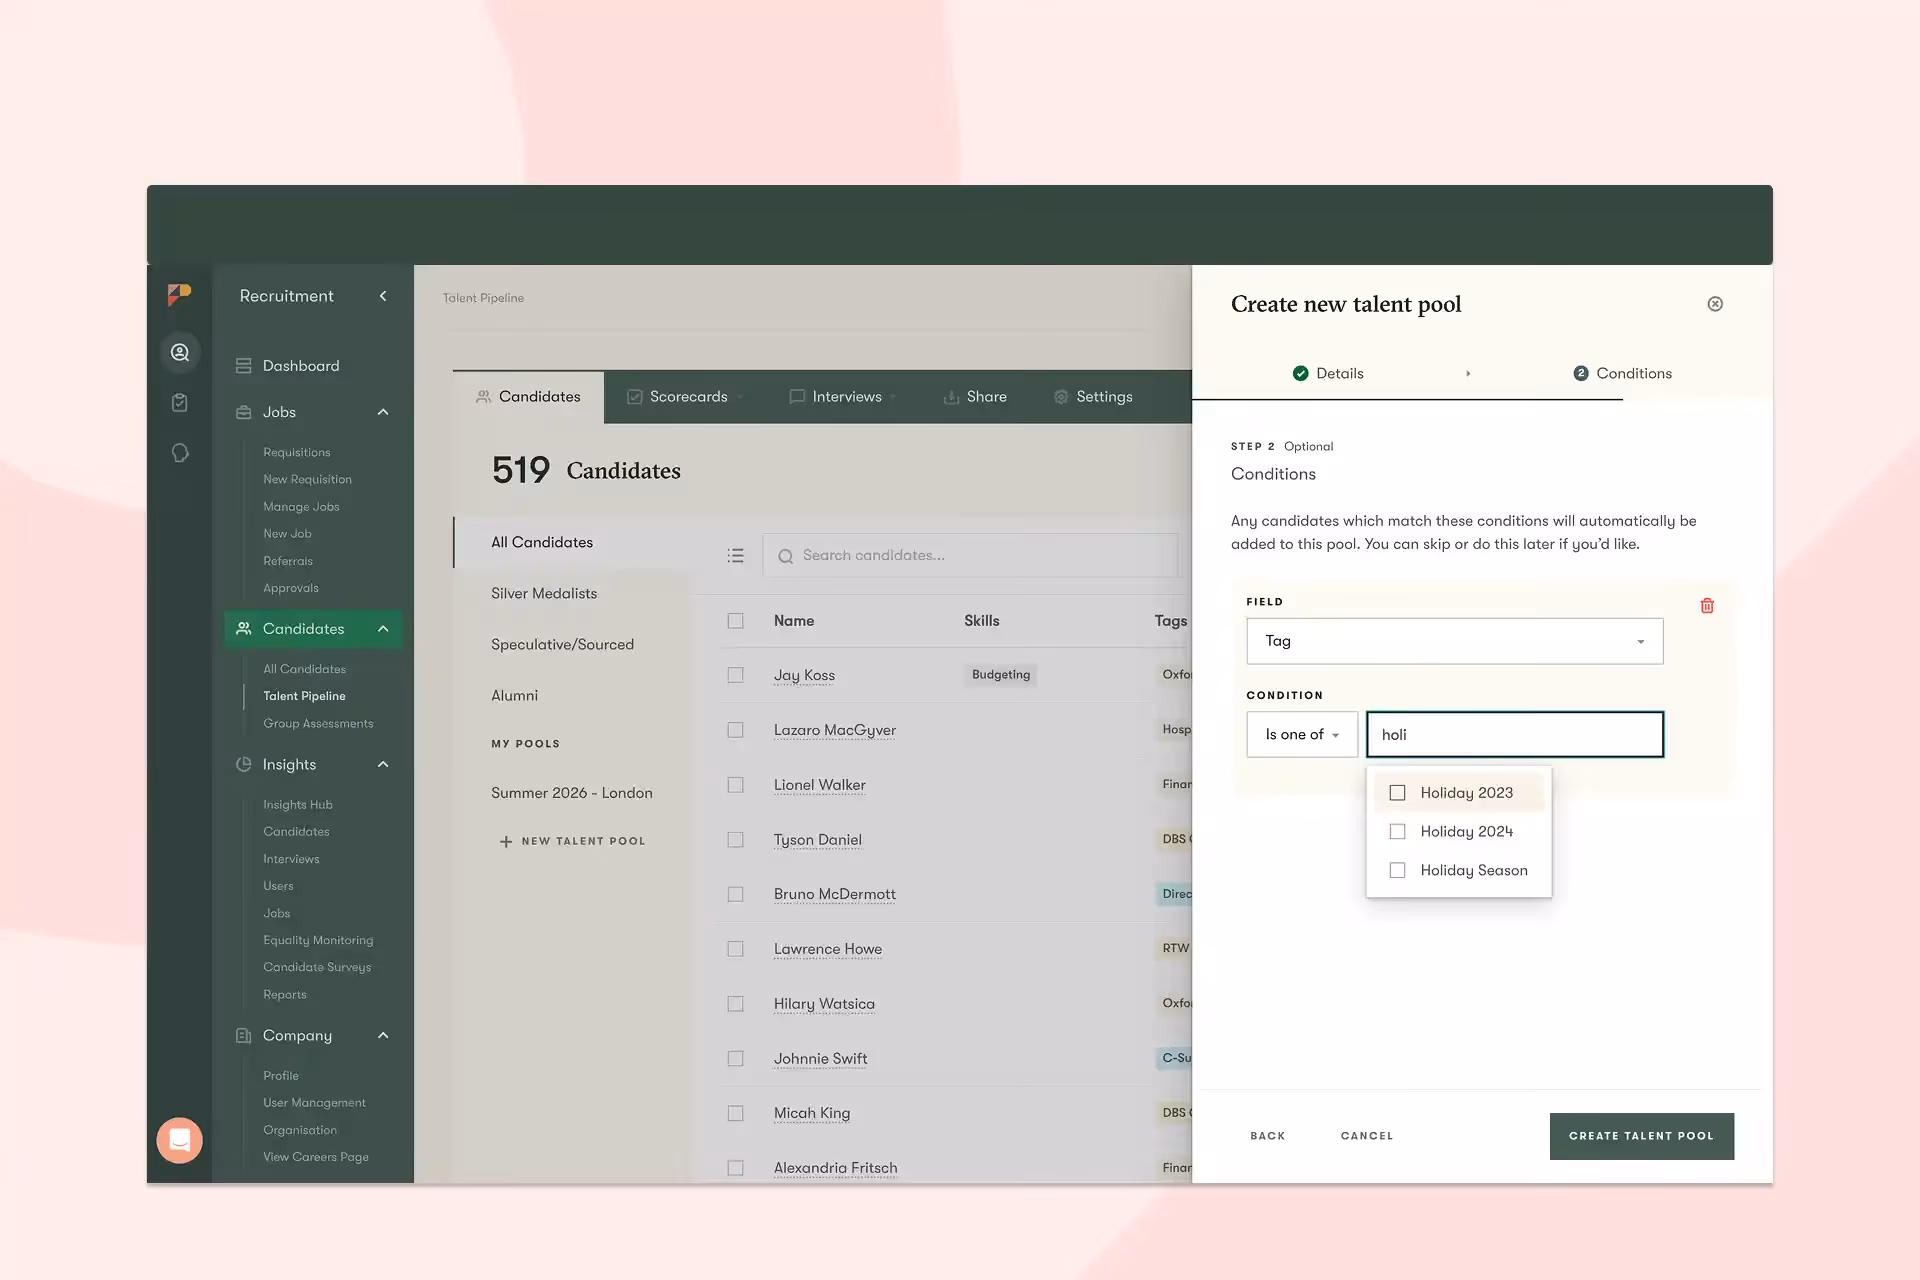
A tag like Seasonal – Summer means you’ll be able to find the right candidates quickly when the next season starts.
If you’re likely to use these naming conventions for future hires, we recommend taking the time to set up a separate Tag Category for all past seasonal hires, based on when they last worked for you.
If they’re sitting in a spreadsheet or tucked away in a different system, import them directly. If not, skip to step 3.
Once your candidates are in the system, you can bulk tag them. Using a tag like Summer Seasonal plus Location – London means you’ll be able to find the right group of people quickly when the next season starts.

Give it a clear name, such as Seasonal Retail Team or Hospitality Summer Staff – London. Add a short description so the purpose of the Pool is obvious to anyone in your team.
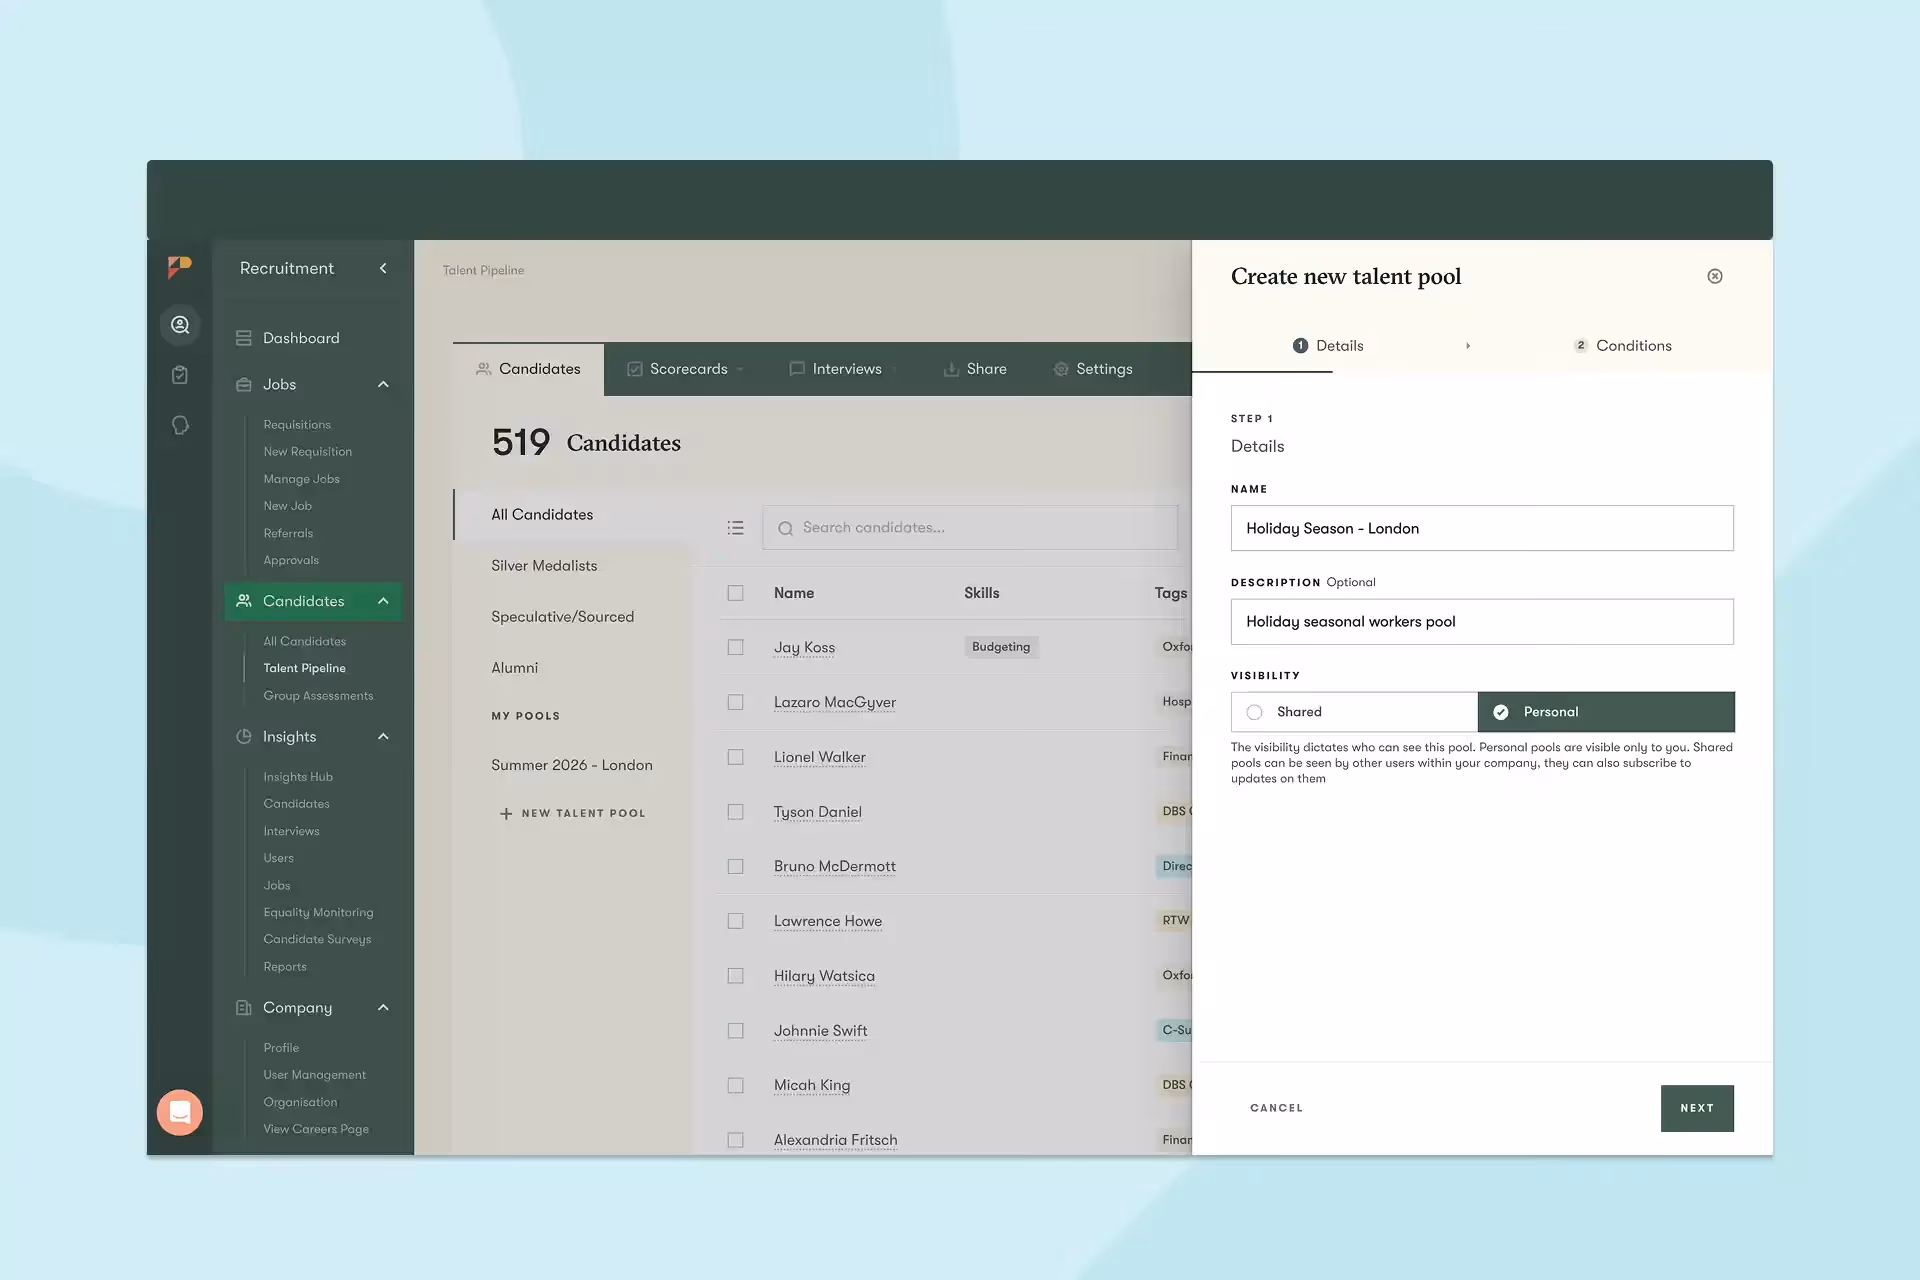
Open the Pool and make sure the right people are included. If the list doesn’t look accurate, adjust your tags or conditions until it’s clean and reliable.
By taking the time to set this up once, you’ve created a reliable starting point for every future seasonal campaign. Instead of digging through old spreadsheets or inboxes, you’ll begin with a trusted shortlist of people you already know can do the job.
Once your seasonal Pool is set up, the next step is to bring those people back when the season rolls around again.
The aim is to make it simple for past performers to say yes to returning, without you spending weeks posting ads and screening new applicants.
Head to your Talent Pool and select ‘Bulk Email’.
If you’d prefer to contact candidates by SMS, Pinpoint can do that too. This article explains how to send an SMS step by step.
Keep it short and personal, and give people a clear way to show interest. We’ve shared some ready-made templates below to get you started.
💡 If you’d like to narrow down recipients, you can filter your Pool by additional tags, including location and job role.

Decide whether you want to send the message right away or schedule it for later.
As people click or reply, their profiles in Pinpoint update automatically. You’ll see exactly who’s keen to return, without chasing through inboxes or updating spreadsheets.
There’s no need to write an essay; keep it short and sweet and give them a chance to reply immediately.
Subject: We’d love to work with you again
Hi [First Name],
We really enjoyed working with you last year, and the role is open again. If you’d like to return this season, you can confirm your interest here: [insert apply/interest link].
Looking forward to hearing from you,
[Your Name / Team Name]
Subject: Seasonal roles are back! Are you in?
Hi [First Name],
Seasonal roles are back, and we’d love to know if you’d like to return this year.
You can let us know quickly by clicking here: [insert apply/interest link].
Thanks again for being part of the team,
[Your Name / Team Name]
Subject: Join us again for the holiday season
Hi [First Name],
We’re re-hiring for the holiday season, and we’d love to see you again. If you’d like to return, just click here to let us know: [insert apply/interest link].
Warm regards,
[Your Name / Team Name]
Subject: We’d love to have you back this summer
Hi [First Name],
Your hard work really stood out last summer, and we’d love to have you back on the team.
If you’d like to return, please let us know here: [insert apply/interest link].
See you soon,
[Your Name / Team Name]
A seasonal Pool is only valuable if it stays accurate. If you don’t keep it up to date, you’ll end up with the same issue of forgotten names, outdated contacts, and wasted effort.
With the time you’ve put into the setup, your Pools shouldn’t take long to maintain. Just make sure you do a quick refresh after each season to ensure your Pool stays reliable.
We recommend the following steps:
As mentioned in step 3, we recommend you go through your Pool while the details are still fresh.
You can create additional tags for future pools, like tagging the people who came back and did well as “Strong Performer,” and even more importantly, tag anyone who isn’t a fit to rehire.
This way, when you open roles again, the best people are right at the top of your list.
Bring the new group into your seasonal Pool before they disappear into spreadsheets or inboxes. Bulk upload them and tag by role, year, and location.
Each season builds on the last, so your Pool gets stronger the more you use it.
Every year, there will be people who have moved, changed careers, or declined your offers more than once. Take a few minutes to remove those profiles.
A Pool you trust is better than one that’s bloated with names you’ll never contact again.
Treat this as the last step of your seasonal cycle. Simply set aside 30–60 minutes at the end of every season.
That small investment pays off when you start hiring again and can go straight to a Pool that’s clean, organised, and ready to use.
You can start today by opening your Pinpoint dashboard, creating your first seasonal Pool, and uploading or tagging last year’s hires.
The sooner you set it up, the sooner you’ll see the difference it makes. Head to your Pinpoint dashboard.
Or, if you’d like to keep building your playbook, head to the next chapter!
Part 2
How to set up your first Talent Pools
Part 4
9 nurture emails to bring your Talent Pools to life
With over seven years in B2B SaaS, Alice creates data-driven content that makes complex topics simple and engaging. She believes every good story (no matter how dry or technical) should feel human, useful, and built on insight.
